{form-field-error}
Typical mistakes when installing windows and methods for their elimination
Typical mistakes when installing windows: violation of geometry, incorrect foam, lack of insulation. Methods for their elimination and a checklist for quality control.
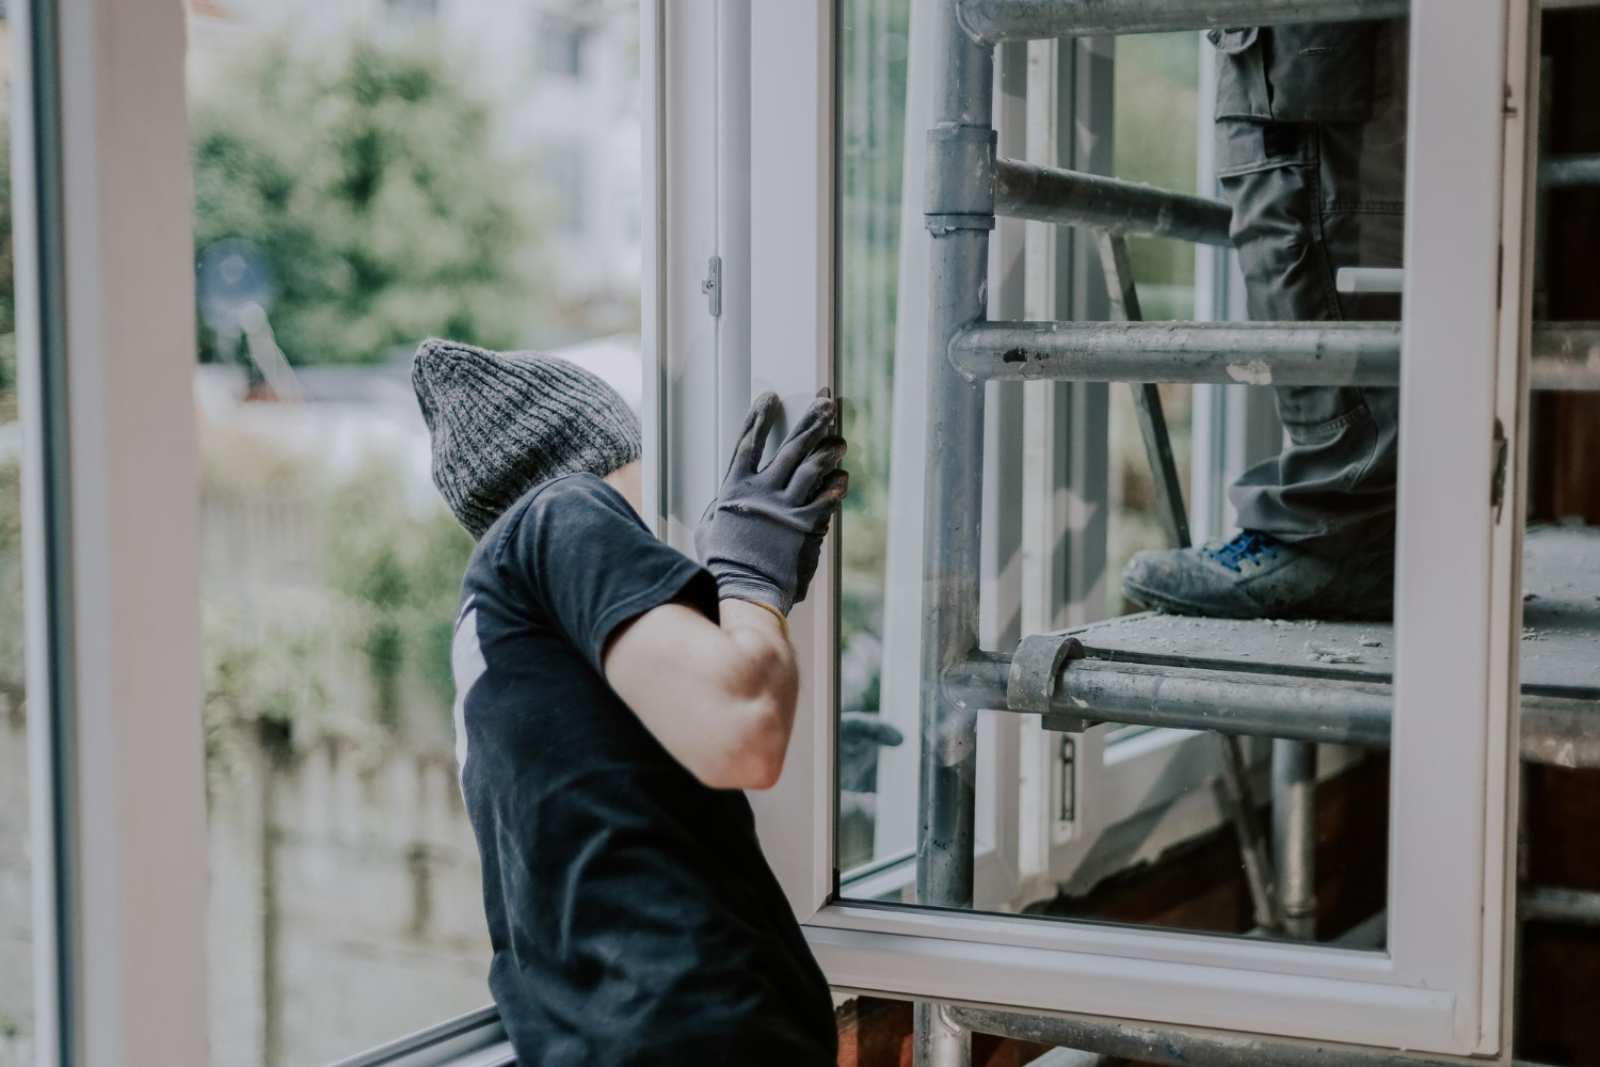
Even the most expensive window with a premium profile and energy-efficient glazing can be useless if there were violations during its installation. Most problems - drafts, condensation, mold on the slopes, or misalignment - arise precisely due to poor installation.
Below is a detailed analysis of the main mistakes and recommendations on how to do everything correctly.
Improper preparation of the window opening
Installation in a dirty or uneven opening is the foundation of future problems. Dust and remnants of old mortar worsen the adhesion of the mounting foam, while fragile concrete cannot securely hold the fasteners.
Consequences:
- Appearance of microcracks in the joints
- Drafts due to poor adhesion of the foam
- Gradual loosening of the frame
How to avoid:
- Thoroughly clean the opening of dust, debris, and remnants of old structures
- Level the surfaces if they have significant discrepancies
- Treat the surface with a primer for better material adhesion
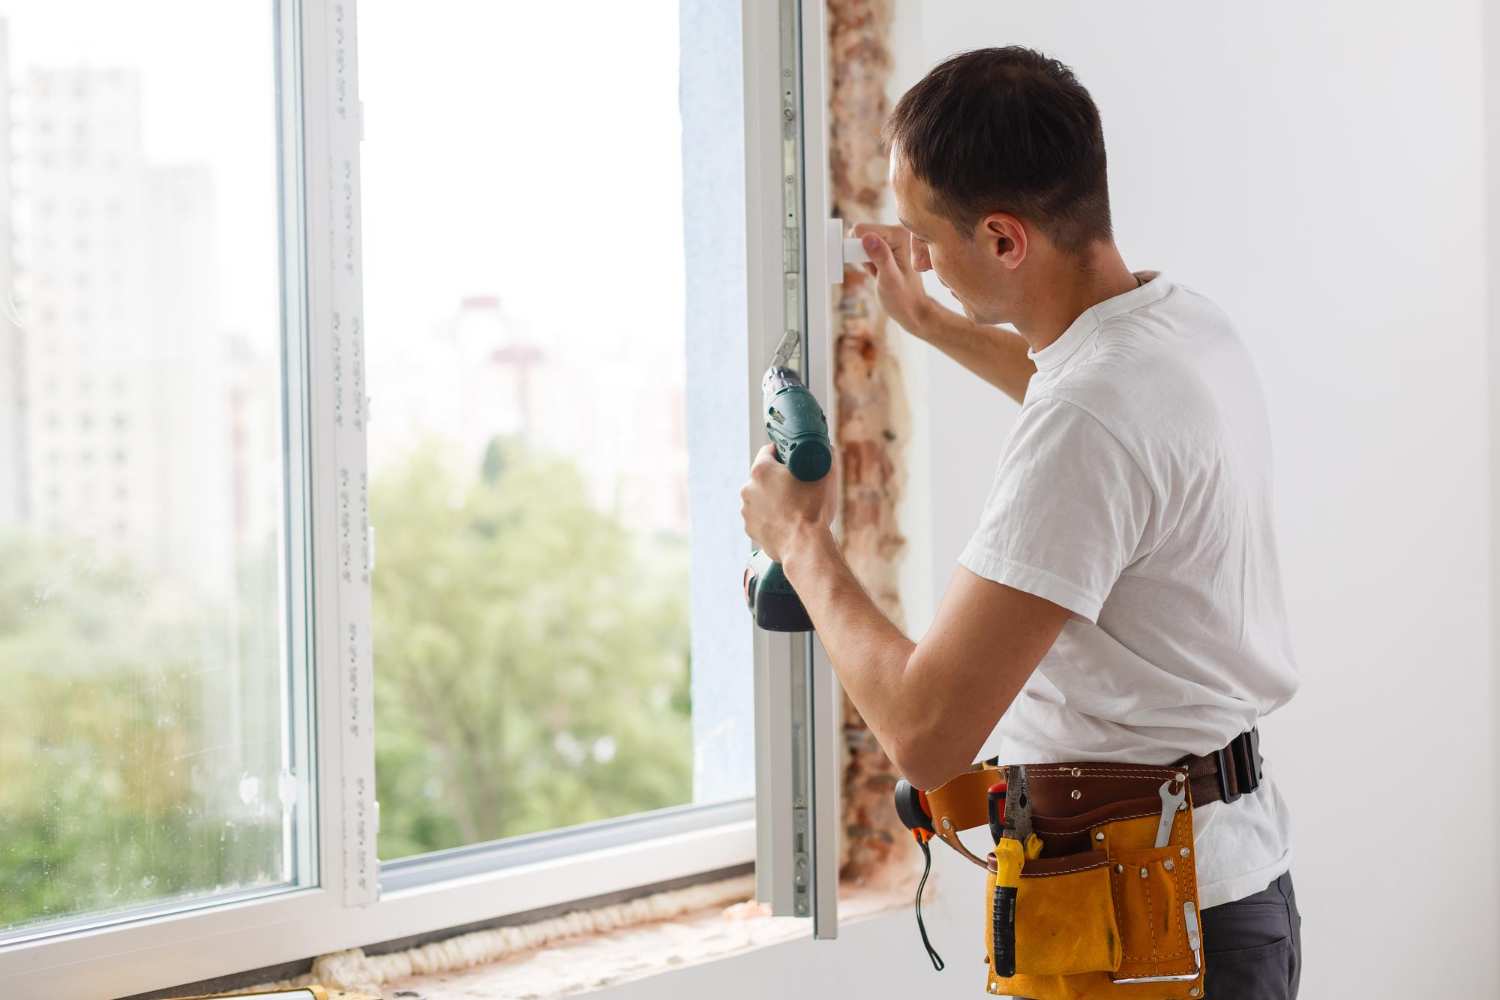
Violations of geometry during installation
The window must stand perfectly level in three planes. An error of even 2-3 mm can lead to the sash catching on the frame or closing improperly.
Consequences:
- Rapid wear of hardware
- Deformation of the profile under load
- Constant drafts
How to avoid:
- Use professional levels (laser or high-precision bubble)
- Always check the equality of the diagonals of the frame
- Use a sufficient number of fasteners (anchors or plates) according to the manufacturer's regulations
Incorrect Use of Foam
Foam is an insulator, not a primary load-bearing element. Many mistakenly believe that the more foam there is, the better.
Consequences:
- Excess foam: pressure during expansion can warp the frame profile
- Insufficient foam: formation of "cold bridges" and voids through which heat escapes
- Lack of protection: under UV exposure, unprotected foam deteriorates and turns to dust within one season
How to Avoid:
- Fill the joint evenly, considering the expansion coefficient of the specific foam brand
- Always protect the foam from sunlight and moisture (with trims or special tapes)
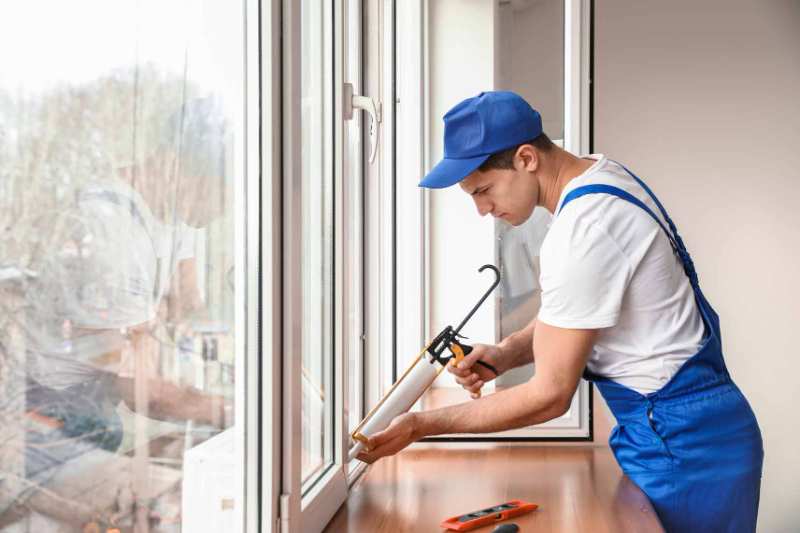
Lack of Vapor and Water Isolation (Three-Layer Installation)
The modern installation standard prescribes the concept: "tighter inside than outside".
- Outer layer: protects from rain and wind but allows moisture to escape from the foam (for example, PSUL tape - pre-compressed sealing tape)
- Middle layer: mounting foam (thermal insulation)
- Inner layer: vapor barrier tape, which prevents moisture from the room from entering the foam
Consequences of Ignoring:
- Saturation of foam leads to a loss of its thermal insulation properties by 50-80%
- Appearance of mold and mildew on the internal trims
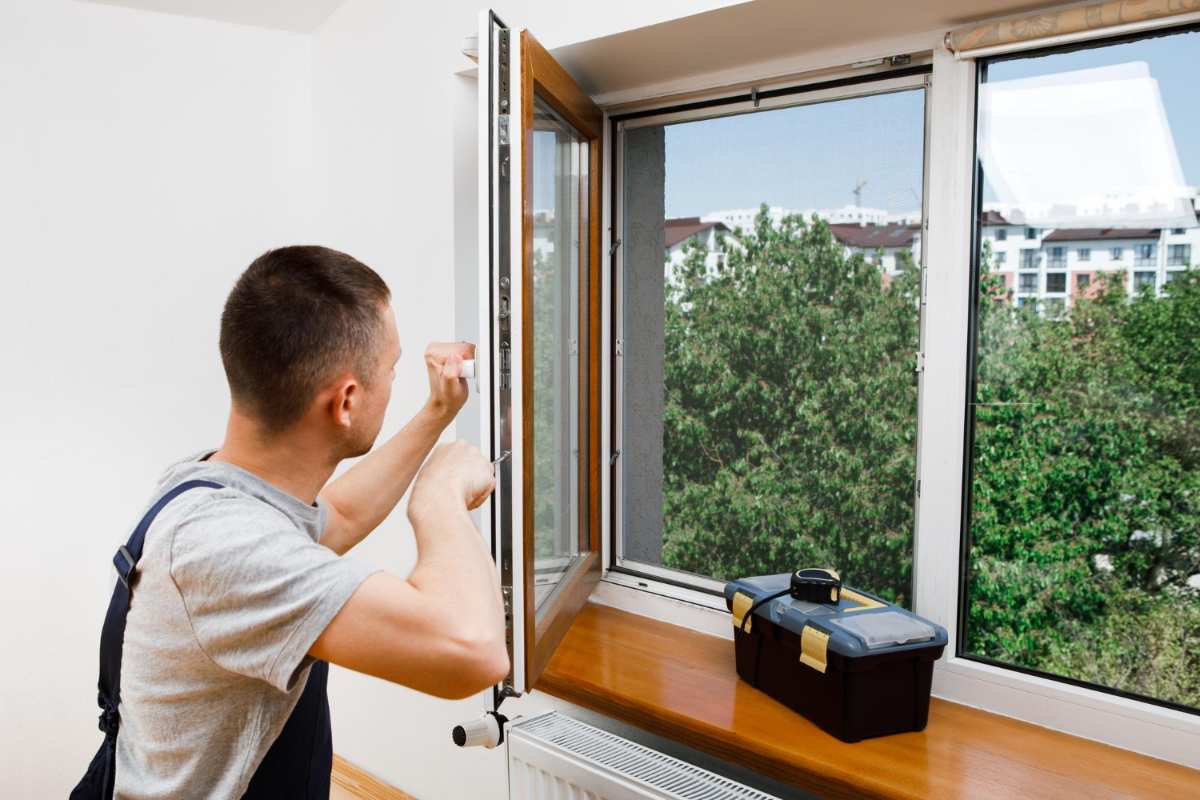
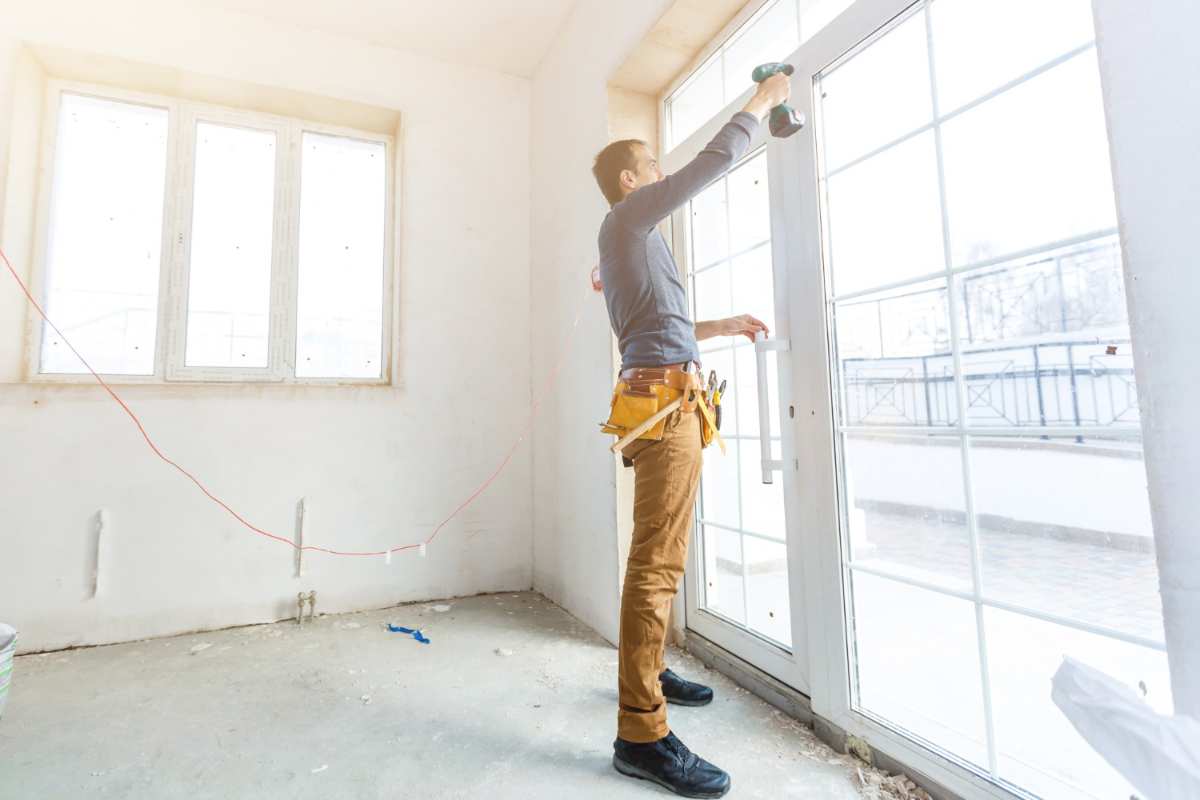
Ignoring Hardware Adjustment
After the foam has set and the window has "settled", final adjustment of the mechanisms is necessary.
How to Avoid Problems:
- Check the smooth operation of the sash
- Adjust the clamping force (winter/summer modes)
- Lubricate moving parts of the hardware
Installation Check-list
Opening
Clean, dust-free, primed
Fastening
The number of anchors corresponds to the size of the window (usually a spacing of 600-700 mm).
Level
The sash does not move by itself when in the open position.
Insulation
Presence of PSUL tapes on the outside and vapor barrier on the inside
Windowsill
Installed under the frame, not flush against it, with a slight slope towards the room.
Can installation errors be corrected later?
Some errors (for example, adjustments) are easy to fix. However, the lack of waterproofing or incorrect geometry often requires complete disassembly and reinstallation, which is significantly more expensive.
Is it mandatory to use PSUL tapes?
Yes, if you want the installation seam to last for decades. They prevent the foam from degrading due to external factors.
When to make the first adjustment?
Immediately after installation, and then after 3-6 months, when the building or structure has gone through a cycle of temperature fluctuations.

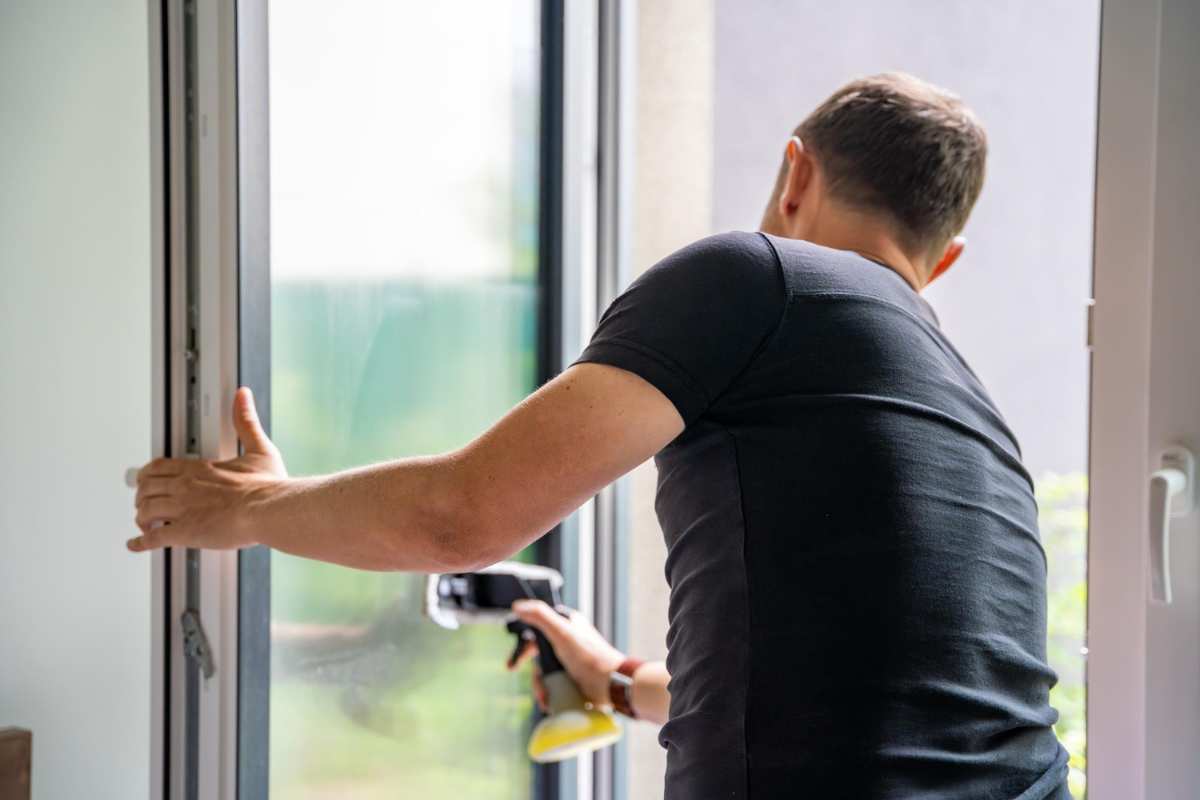
We will consult and provide a clear cost estimate
We will gather and complete
We will deliver intact and with a guarantee
We will install windows and clean up after ourselves
Do you have questions?
Leave your contact details
We will contact you shortly, provide all the necessary information about the products, and make a cost calculation.
+34
- Spain (España)+34
- France (La France)+33
- Italy (Italia)+39
- United Kingdom+44
- Ukraine (Україна)+34
- Belgium (België)+32
- Switzerland (Schweiz/Suisse)+41
- Germany (Deutschland)+49
- Netherlands (Nederland)+31
{form-field-error}
Our Contacts
Spain
Call us now
Write to us